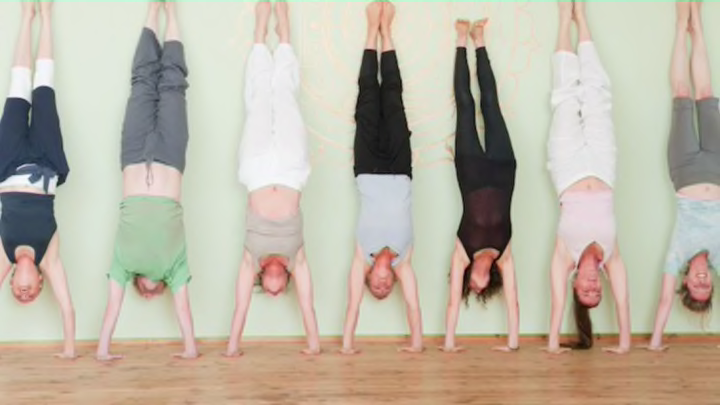
Handstands may seem like a move best left to gymnasts and super-yogis. But really, you don't have to have Olympian genes or spend all your free time in a yoga studio to learn how to do them. In fact, hitting the mat every day might not even get you there. "Someone who has a very advanced yoga practice will not be able to do a handstand unless they have specifically worked on it," says Sarra Morton, a yoga instructor at Equinox in New York City. "Conversely, someone who does not have a strong yoga practice might be able to do handstands because they have dedicated a lot of time to doing so. It's all about practice, practice, practice."
Many people mistakenly think this move is all about having crazy-strong arms. Arm strength helps, but that's not all it takes. To stay upright, you need great balance—which is impossible without strong muscles in your abs, back, and butt. "Balancing in a handstand is really about core strength; that plays a big role in your ability to stack the joints of your wrists, elbows, and shoulders in one line so you can hold yourself up as straight as a pillar," says Morton. "A pillar defies gravity because it is perfectly straight, and that's exactly the position you're trying to create with your body."
Got a solid core and upper body? You're still only two-thirds of the way there: Your lower half gets in on the action when you're doing this inversion move, too, says Morton. "Even your hip flexors, hamstrings, and inner thighs need to be strong! Because a handstand requires you to keep your legs perfectly in line with the rest of your body, all of the leg muscles are engaged to 'zip' them up and keep them together."
And one last, often overlooked necessity: flexible wrists. Without them, you can do a handstand but might not be able to hold it very long without pain. (If your wrists start to ache easily, do lots of downward-facing dog; it helps with flexibility in this joint, says Morton.)
If the closest you've ever come to nailing a handstand is doing one in the pool, well, that's a start—but read on for three simple steps that'll help you master the real deal. All you need is a wall and a mat, plus the commitment to keep practicing.
1.GET YOUR KICKS
Practicing a move called "donkey kicks" can set you on the fast track to conquering the handstand. To do them, start in a downward dog position (with hands and feet on the floor and hips in the air, so your body forms an upside-down V). Shift your weight forward by kicking your legs up and pulling your knees in toward your chest, moving your shoulders over your wrists as you do so, says Morton. But don't kick your legs all the way up, she warns, or you'll risk losing your balance and falling over. "Doing this move will give you an idea of the core strength and leverage needed to stand on your hands," she says.
2. TO L WITH IT
Stand about a leg's length away from the wall, facing away from it. Plant your hands on the floor and walk your feet up the wall so they're in line with your hips; your body should form an upside-down L shape. "This pose allows you to practice without all of the body weight of a regular handstand," notes Morton.
3. GO FOR IT—WITH A BACKUP PLAN
Do a downward dog with your hands about six inches away from a wall (fingers pointing toward the wall). Shift your shoulders forward over your wrists and try to lift one leg and then the other up the wall into a handstand. "Try not to kick, as this makes it harder to get away from the wall," advises Morton. "Instead, feel like you are lifting your legs from your core so that they gently find the wall. At this point, try bringing the legs away from the wall, knowing it is there for you to fall back on when you need it."
