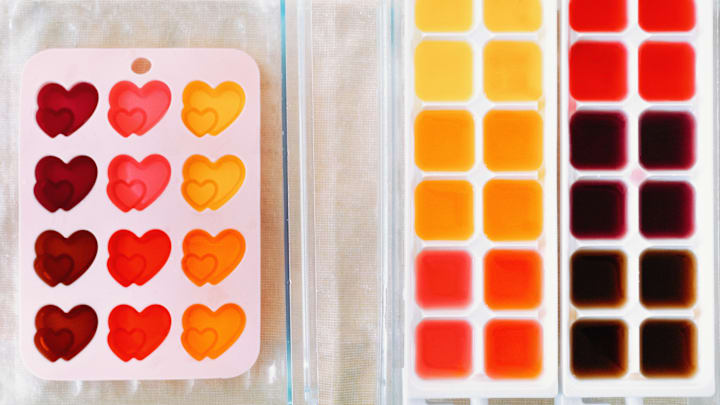
Shoppers who want to avoid long, hard-to-pronounce ingredients lists won't have much luck in the popsicle section of the supermarket. Many top brands contain high-fructose corn syrup, artificial flavorings, and color additives—not to mention little to no actual fruit juice. Luckily, making your own popsicles at home is easy, and some toothpicks and an ice cube tray can work as a starter kit.
There's a plethora of guides for making DIY popsicles online. Many food bloggers suggest using yogurt, honey, vanilla exact and, of course, fruit bits and fruit juice of any flavor you like.
If you’re not interested in going gourmet—or breaking out the blender—some Welch’s, Minute Maid, or other store-bought fruit juice can do. If using an ice cube tray, just pour the liquid evenly, cover the top with plastic, poke a toothpick into each cube section, wait for about four hours, and, voilà—a tasty respite from the summer heat.
The versatile recipe works as a DIY culinary project for kids stuck at home. It's also a blast from the past for adults of a certain age. In the 1970s, the technique was taught by Timer, who Gen-Xers might remember as the top hat-wearing yellow cartoon blob who interrupted ABC’s Saturday morning and afterschool programming with nutrition tips for kids. (He was supposed to be an anthropomorphic circadian clock, and “Hankerin’ for a Hunk o‘ Cheese” was his greatest hit.)
Interested in leveling up your homemade popsicle game? There are plenty of fun molds you can buy, and ChefSteps (a paywall site) has a whole series that can help you nail the consistency and crystallization of your frozen treats. But for a fun afternoon spent in your air-conditioned home, you don't need any special equipment beyond an ice cube tray and some toothpicks.
