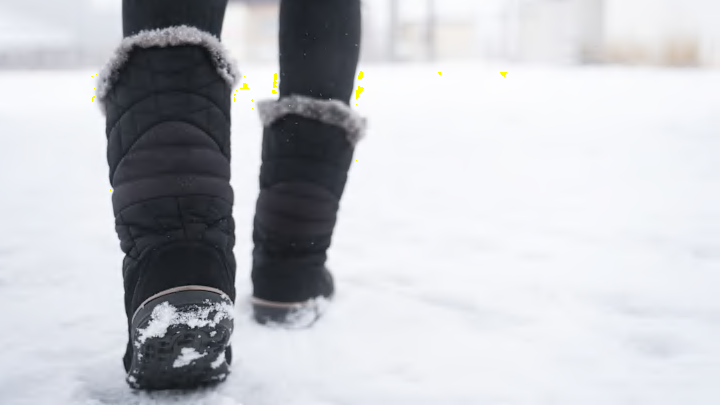
The rain, ice, snow, and slush of winter—not to mention salted sidewalks and roads—are hard on footwear. But a storm shouldn’t stop you from wearing your favorite kicks. Here are seven tips for weatherproofing your boots and shoes for bad weather.
- Don’t Immediately Reach for the Waterproofing Spray
- Pay Attention to Material
- Clean and Condition First
- Use Vinegar To Take Care of Salt Stains
- Get a Brush
- Pay Attention to the Seams
- Spray Gently
Don’t Immediately Reach for the Waterproofing Spray
While completely waterproofing your shoes may sound like the best option, in reality, it will leave you with very sweaty feet. Waterproofing sprays create a barrier to ensure that nothing can pass through the material—but that also means that your shoes won’t breathe, creating a little pocket of hot, sweaty air around your foot. You probably want to look for something that will make your shoes water-resistant instead. If you’re going to be standing in a puddle for a decent amount of time, just go ahead and wear your rain boots.
Pay Attention to Material

You’ll need to approach weatherproofing your shoes differently depending on what material they are. Whatever water-repelling spray you choose, read the label to make sure it will work on the pair of shoes you’re using. While waxes work on leather shoes, sprays are better for suede or fabric. Some shoes—namely, patent leather ones—can’t handle water-resistant sprays at all.
You can definitely find water-repelling sprays that will work for most of the shoes in your closet, though. One warning: If the shoes aren’t black or dark brown, make sure to test a bit of the spray on an inconspicuous area of the shoe first, because some sprays can change the color of the material.
Clean and Condition First
Before you try to snow-proof your footwear, you want to make sure those shoes are completely clean, whether you’re waterproofing your hiking boots, running shoes, or designer suede. Otherwise, you’ll just be sealing in dirt. You can use a cloth to dust off any debris, then apply a cleaning solution. Some experts recommend using simple dish soap on leather, but you can also get solutions specifically designed for premium shoes. If you’re working with leather shoes, you should use a conditioner to moisturize the leather and keep it from drying out and cracking, applying a layer while the shoe is still wet from cleaning. Then, once that whole process is finished, go ahead and apply the protectant spray or wax.
Use Vinegar To Take Care of Salt Stains
Salt stains happen, but you can mitigate the damage with a little bit of white vinegar. The Spruce recommends a mixture of 1 cup cold water and 1 tablespoon distilled white vinegar. Use a white towel or cotton balls to apply the diluted vinegar to salt stains. The acid will dissolve the salt, and the stains will disappear. The technique works best on fresh stains, though, so try to take care of the issue as soon as you can.
Get a Brush

Keeping your shoes looking their best is an ongoing process. You should brush grime off your shoes regularly—ideally after every wear. It’s an easy way to remove dirt, mud, and salt before they build up and stain the material. It may seem like a lot of work in the moment, but it will save you time scrubbing at those stains later. Wirecutter recommends using a medium horsehair brush for leather shoes.
Pay Attention to the Seams
For the most thorough protection against the elements, pay extra attention to where the sole meets the top of the shoe and any other seams where water might get in. Backpackers and outdoorsy types swear by the beeswax-based Sno-Seal. You apply that one with a rag or a gloved hand, so it's easy to dab a bit extra around the seams compared to the rest of the boot.
Spray Gently
When using a water-resistant spray, you don’t want to deluge your shoes. Read the manufacturer’s instructions carefully before spraying, but in general, most sprays should be applied at least 8 inches away from the shoe to get a more even application of the product. Let the shoes dry thoroughly before you go out in the elements.
How long this weatherproofing lasts will depend on the spray, the shoe material, the weather, and how often you wear your shoes. Again, check the instructions on your particular product to figure out how long your shoes will remain protected from the elements.
Check Out More Live Smarter Stories Below:
A version of this story was originally published in 2018 and has been updated in 2025.
