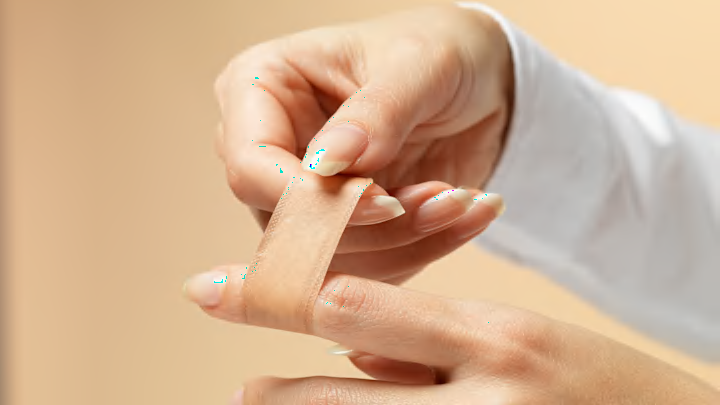
You may think you mastered the art of Band-Aid application when you were a little kid, but we’re here to tell you you’re doing it wrong. According to Insider, there is a better way to go about it—and it’s not as complicated as you might expect.
Getting a paper cut, blister, or other injury on your fingers, hands, and toes always makes for an awkward bandage situation. Straight Band-Aids aren’t made to go on fingertips, and often, they slide right off with the slightest tug. This little life hack solves the problem with a pair of scissors and just two snips.
All you need to do is make a cut down each adhesive strip of the Band-Aid so that instead of two sticky flaps securing the bandage in place, you have four. Then, just place the bandage pad on top of the target area, holding it in place, then tear away the protective liners from the adhesive and criss-cross each strip around your finger, being careful to avoid the joint.
Unlike with bandages that are shaped like butterflies, you can wrap each of the four flaps individually so that none of them is struck to the underside of your finger joint. With this method, you’ll be able to move your hand without the bandage bunching and moving on your skin.
Watch how it works around the 14:09 mark in the video from 5-Minute Crafts below.:
The trick helps give your Band-Aid a more secure grip and works on any part of your body, whether that’s on your knuckle, fingers, toes, ears, or any other body part that’s tough to stick a regular bandage on. It doesn’t have quite the same malleability of a liquid bandage, but it’s a huge upgrade on the standard cloth or waterproof Band-Aid.
Discover More Fascinating Hacks for Living Smarter:
A version of this article was originally published in 2018 and has been updated for 2024.
